This is not considered a limitation but a feature. If the server is configured to relay mail from anywhere, it is an open-relay mailer and is not allowed by the laboratory. The main reason is that open-relay mailers are used by spammers to send spam mail. Also, many institutions no longer accept mail originating from open-relay mailers.
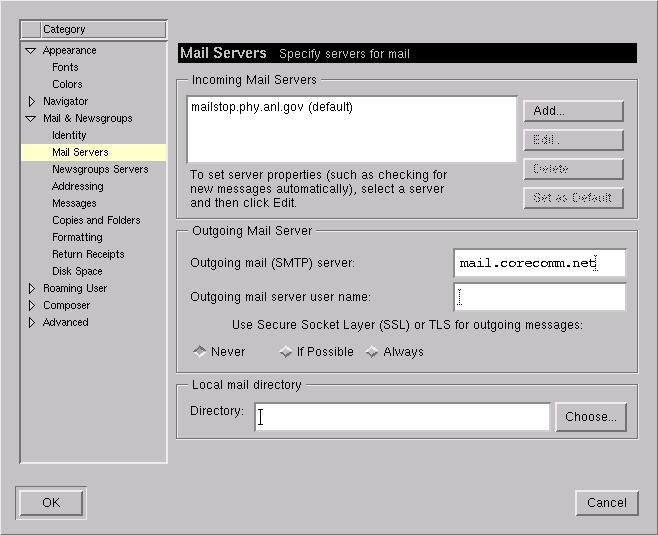
In the following example, the mail client is Netscape Messenger. Select Preferences under the Edit menu. Click on Mail Servers under Mail & Newsgroups and enter the information as shown below.
With this account, you will be reading mail from the division's mail server, but sending mail via your ISP's outgoing server.
Typically, your Corecomm email address is [email protected]. You may wish to set your email address to [email protected] as shown below so that when you send mail via this account, the mail will go out with your Physics mail address instead of your ISP's.
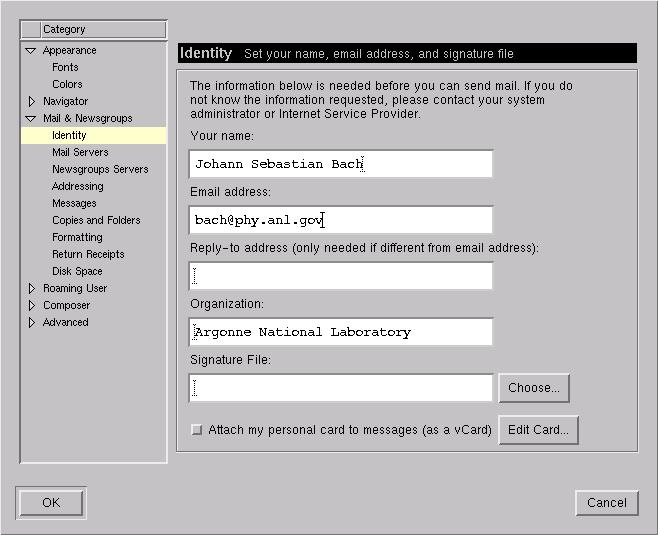
NOTE: There is no guarantee that the mail message will go out with a From: address of [email protected]. This depends entirely on the ISP mailer. It may be configured to rewrite the address to name@your_isp.net. In such cases, you may choose to enter [email protected] in the Reply-To field shown above.
This basic idea also applies if you are connected to a network at some
other institution. In this case, you will need to find out from the
institution's administrators what the appropriate outgoing server's name
is.
You will need 2 things:
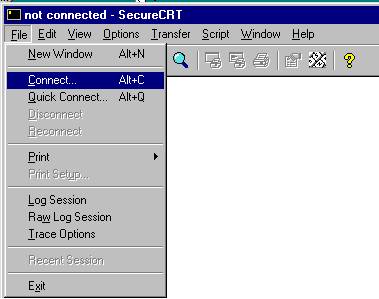
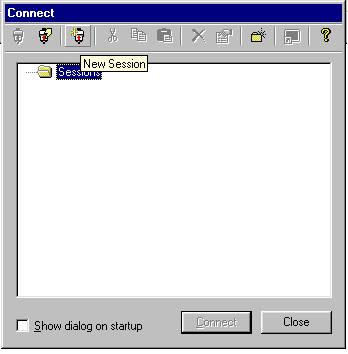
and click on New Session.
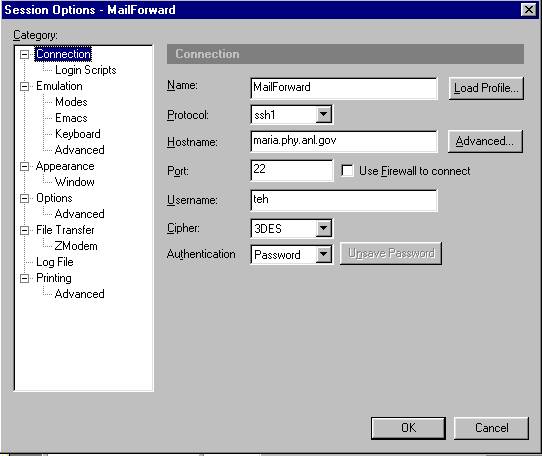
Fill in the fields as shown below. In this example, the new session is called MailForward. Instead of `teh', put in your account name on the maria cluster.
Next, click on the Advanced button next to the Hostname: field and select the Port Forwarding tab.
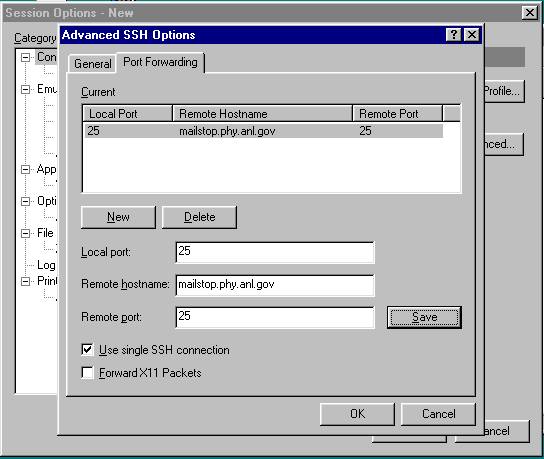
Click on New and fill out the fields as shown above. Then, click Save to add it to the Current listing. Finally, click OK to bring up you back to the following screen.
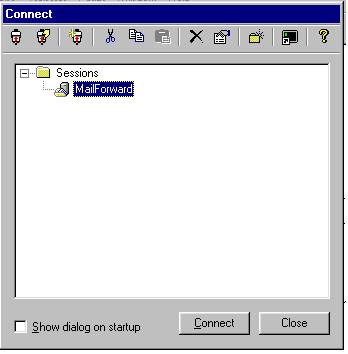
You should see the session you have just defined.
Next, you need to create another "mail account" in your mail client program. The example below uses Microsoft Outlook as the mail client, but the idea is the same with other mail clients. For more details on creating a "mail account" in your mail client, click here .
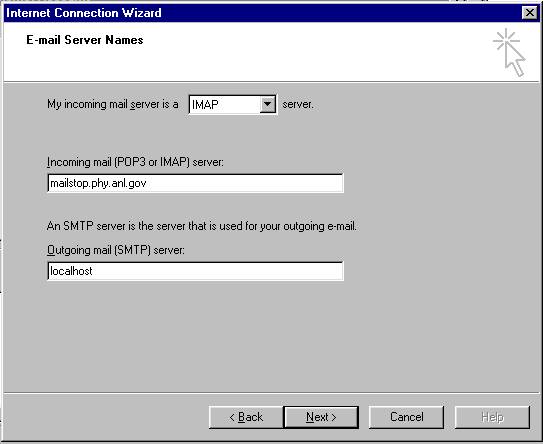
When you get to the dialog box as shown above, type in localhost for the outgoing mail server. With the port forwarding technique, the outgoing server is always localhost. When you are finished creating the account, you should see the following dialog box with 2 accounts defined.
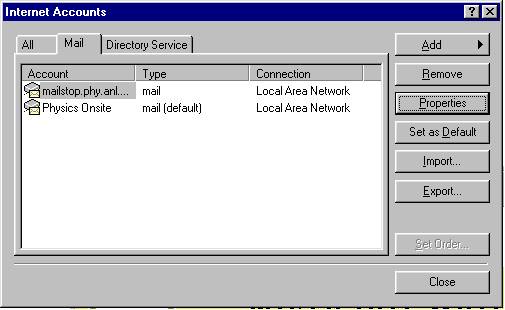
You may wish to rename your "offsite" account. Click on Properties to rename the account as shown below.
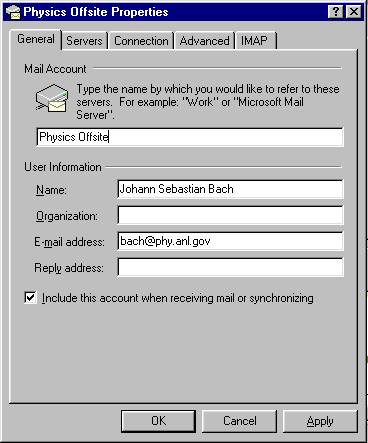
As with your onsite account, you need a secure connection to the incoming server. If you have not already done so, click on the Advanced tab and check the secure connection option for the incoming server. When you're done, you should have 2 accounts - and offsite and an onsite as shown below.
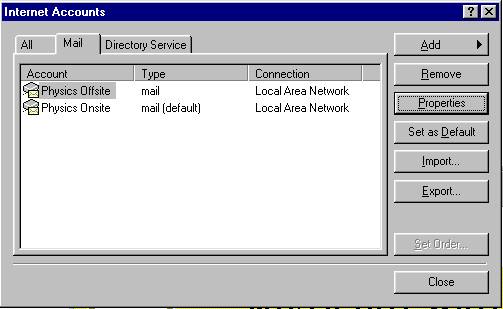
Your setup is now complete.
A dialog box will appear as shown below prompting you for your password. This is the password to your account on the maria cluster. Type it in.

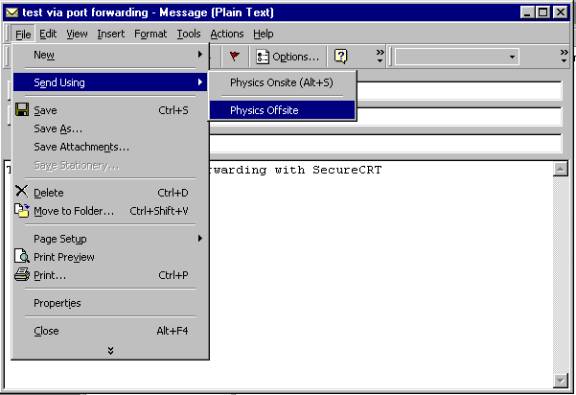
After the ssh connection is established, you must send your mail via your "offsite account". Instead of clicking on Send, select Send Using from the File menu and select your offsite account as shown below.